Save Your Cassette Tape Recordings to Your Computer
Going through my old cassette tapes brings back memories from high school in a way that MP3’s never can. If you’ve been around a while, you might have a box of old tapes in your closet or attic somewhere. Here are some ways to transfer those recordings into your computer, iPod, or phone, where they can live again!
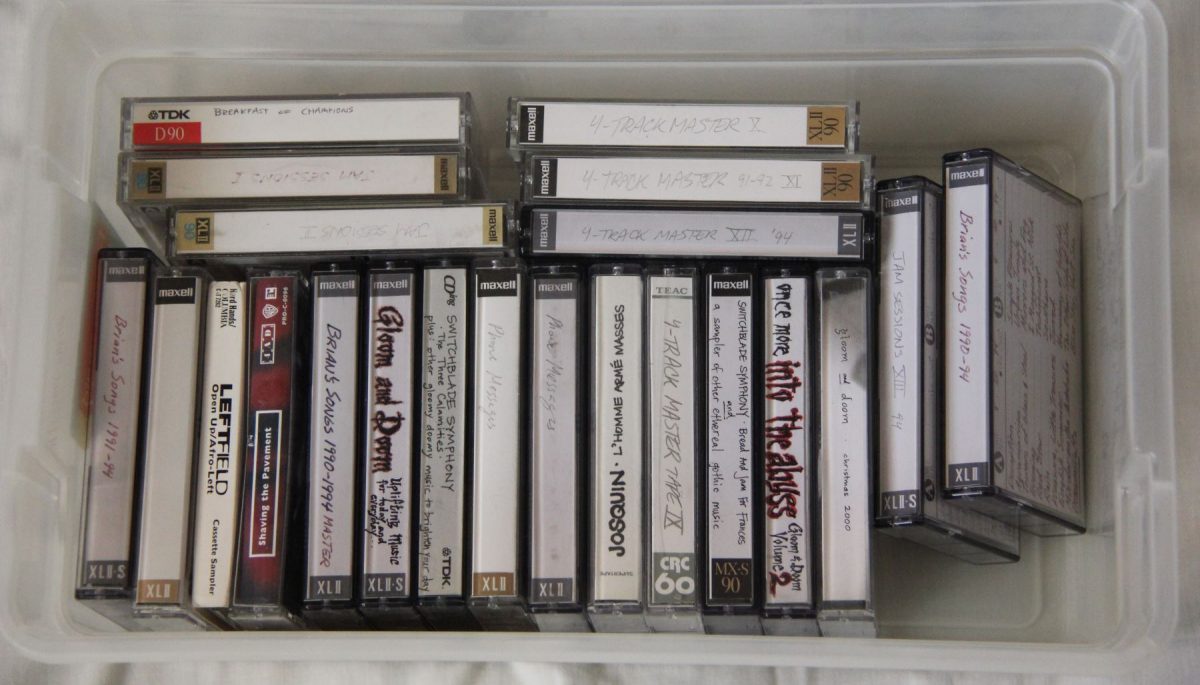
Compared to modern digital recordings, the sound quality of cassette tapes is actually pretty bad. After repeated usage, you lose the high frequencies. And worse, the tape usually stretches so the song gets slightly slower and out of tune from the original recording. So, if you have pre-recorded tapes which have songs that are still sold today, I recommend simply paying the $0.99 per song to get clean digital copies from Amazon, iTunes, or whatever modern digital store you use.
On the other hand, you might have songs on tape that are not available for sale in digital format. Perhaps they were rare recordings, or recordings that you made yourself. These might be very valuable to you! Let’s see how to transfer these recordings to your computer.
Using Your Existing Tape Player
If you still have your component tape player or Sony Walkman, that is a very good start. Dust it off and make sure it still works using a tape that you don’t care too much about. If you trashed your tape player long ago, or it doesn’t work, skip to the bottom where I talk about another option.
All you need is a cable to transfer these recordings to your computer. Exactly which type of cable depends on what type of tape player you have.
Walkman
If you have a Walkman or other kind of portable tape player, you’ll need a “stereo 1/8” to stereo 1/8” cable”.
Here are some examples of these from Amazon (make sure to get the cable with the male 1/8 inch end):
Plug in the 1/8” cable into your Walkman’s headphone output jack, then continue below.
Component Tape Player
If you have a component tape player, the cable you’ll need is an “RCA to stereo 1/8” cable” (make sure to get the cable with the male 1/8 inch end):
You can get these cables at Radio Shack. Now, if you still have your tape player, you probably have the audio cable that came with it, which is a “stereo RCA to RCA cable”. If so, you can just get a “stereo RCA to 1/8” stereo adapter” and plug it into your existing cable.
Plug the RCA end of the cable into your tape player’s output jacks, sometimes labeled “PLAY”.
Disclosure: Some of the links on this page are affiliate links. This means if you click on the link and purchase the item, I will receive an affiliate commission at no extra cost to you. I test or research each product or service before endorsing. This site is not owned by any retailer or manufacturer. I own this site and the opinions expressed here are mine. As an Amazon Associate, I earn from qualifying purchases.
Testing Your Setup
Plug the the other end into your computer’s mic input jack. On a laptop, it is usually next to the headphone jack, which is the same size and shape. It should have a microphone symbol next to it. On a desktop computer, this jack is often colored pink and will be on the back of your computer and sometimes the front as well. If your desktop doesn’t have this jack, it means that it doesn’t have a sound card, and you’ll have to get one. These are pretty cheap (say under $30).
Now go to your computer. To make sure everything is connected properly and working, you can start up your computer’s recording program and make a test recording. In Windows, this is called Sound Recorder and is usually under the Accessories folder of your Start Menu.
You might have to change the sound source to get this to work. This is under Start Menu -> Control Panel -> Sound -> Recording. Select sources until you find the right one. If you have an older Mac, there was a program called “Simple Sound” which did audio recordings. New Macs don’t have a recording program natively installed. Don’t worry though – keep reading.
You might need to adjust the sound volume of your tape player to hear it on your computer.
Your Free Sound Recording Software: Audacity
If you got your simple recording program to work, then great. But ultimately you’ll want something a little better. I recommend Audacity because it’s powerful and free (and available for Mac and PC). It requires a little learning, but I’ll help with that. Go to audacity’s website, download it to your computer and install it.
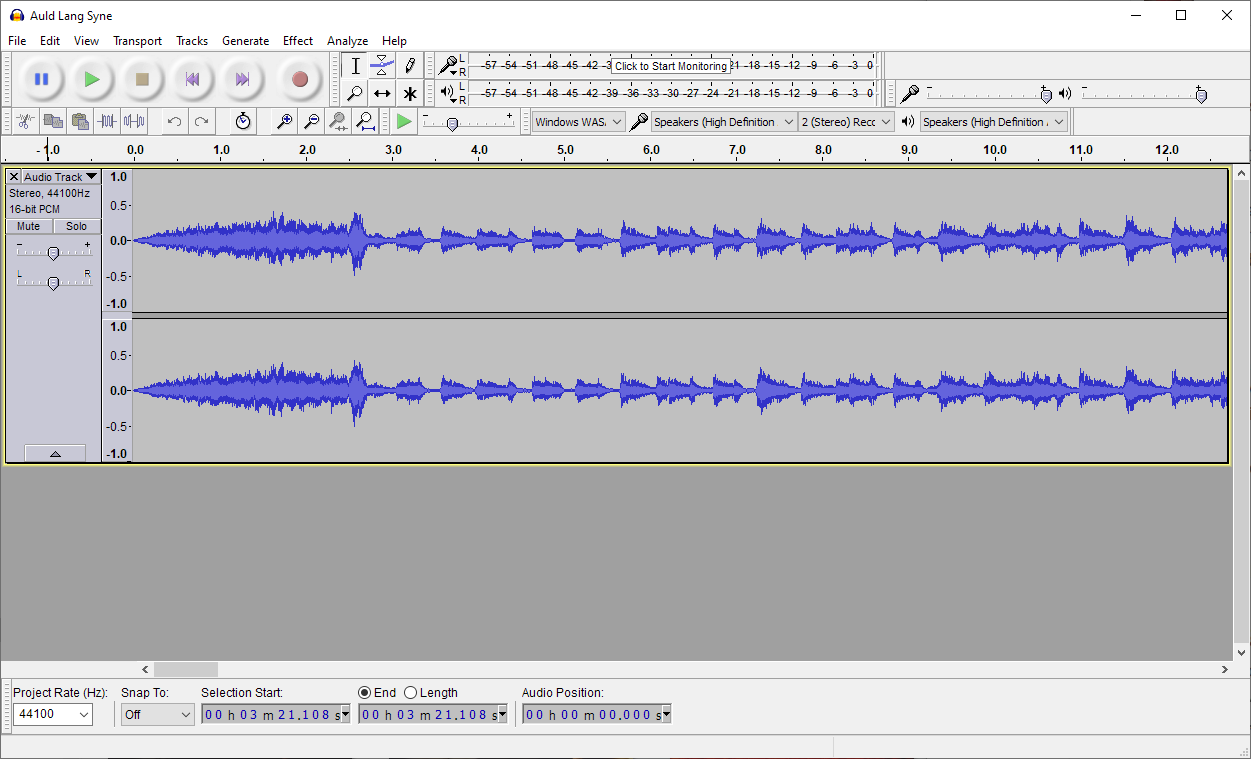
Now there are a couple of settings you should verify in Audacity. The first is recording quality. Go to Edit -> Preferences -> Quality and make sure the “Default Sample Rate” is set to 44100Hz. Next, make sure you are set to record in stereo. There is a pulldown on the page that you simply set to “2 (Stereo) Input Channels”. There is a pulldown just to the left of that where you can select the source.
Start your tape player and hit the round red Record button on Audacity to start recording. You should see Audacity drawing the waveform in real time. If you have a Walkman, you might need to raise or lower the headphone volume to get the right levels. If you don’t see anything, you might not have the right input source selected in Audacity. After you’ve confirmed that it works, press the Stop button to stop the recording.
Now you can get down to business and record one of the songs that you want to preserve!
There are a lot of other cool features in Audacity like noise removal, which might come in handy. One feature I want to point out is the Effect -> Amplify feature. This raises the volume of your whole recording so that it won’t sound quiet compared to other songs you have. I suggest using this.
Converting Your Recording to MP3
OK, now that you have your recording, you might want to store an uncompressed version of it as a WAV file. Select File -> Export -> Save As Type -> WAV. This is great for archiving, but lousy for listening on your phone or iPod, because the file is huge. So, it’s up to you whether to do this step or not. But ultimately, you’ll want your music in MP3 format.
Now, Audacity doesn’t natively come with MP3 recording capability. You need something called a LAME encoder (I know, the name is, well, lame). You might already have the LAME encoder on your computer. If so, Audacity will have an MP3 option in the “Save as Type” pulldown when you try to export your file. If you don’t see that option there, you’ll have to download the LAME encoder. Here is one place to get it:
http://lame.sourceforge.net/download.php
Another option is to take your WAV file and use iTunes to convert it into an MP3. Use that method if you are more comfortable with iTunes.
As you save it, be sure to enter all of the meta-data like artist, album, and song name, so that you can find this song on your MP3 player or phone. After you’ve converted the file, transfer it to your phone or iPod and you’re done!
I Don’t Have a Tape Player Anymore!
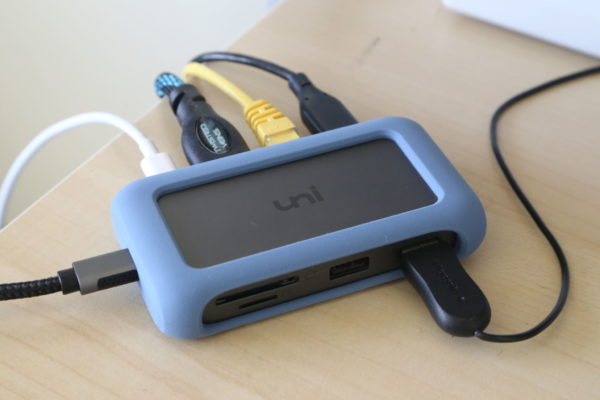
If you trashed your tape player long ago, there are some inexpensive devices that have built-in USB:
Hope this has been helpful. Happy recording!


Please Leave a Question or Comment
I try to answer each one! - Brian
Hi Brian, thanks for the info, I have just found a bag full of my old tapes and My old Walkman!!! I have just sent for a 3.5mm male/male cable to try this out. I can put the lot onto the 1 TB hard drive I have plugged into one of the USBs in my car. I also have an XKR Jaguar for sunny Sundays and it has a tape deck I have never used, I will give a go this weekend.
Many thanks
Bob
Hi Bob,
Thanks for sharing! Let us know how it goes!
Best,
Brian
Brian, Thank you, somebody writing plain common sense English. I will let you know how I get on transferring the tape cassettes from my Sony WM-EX21 to Audacity. Wish me luck.
Hi Christophe,
Thanks for commenting and good luck!
Brian